
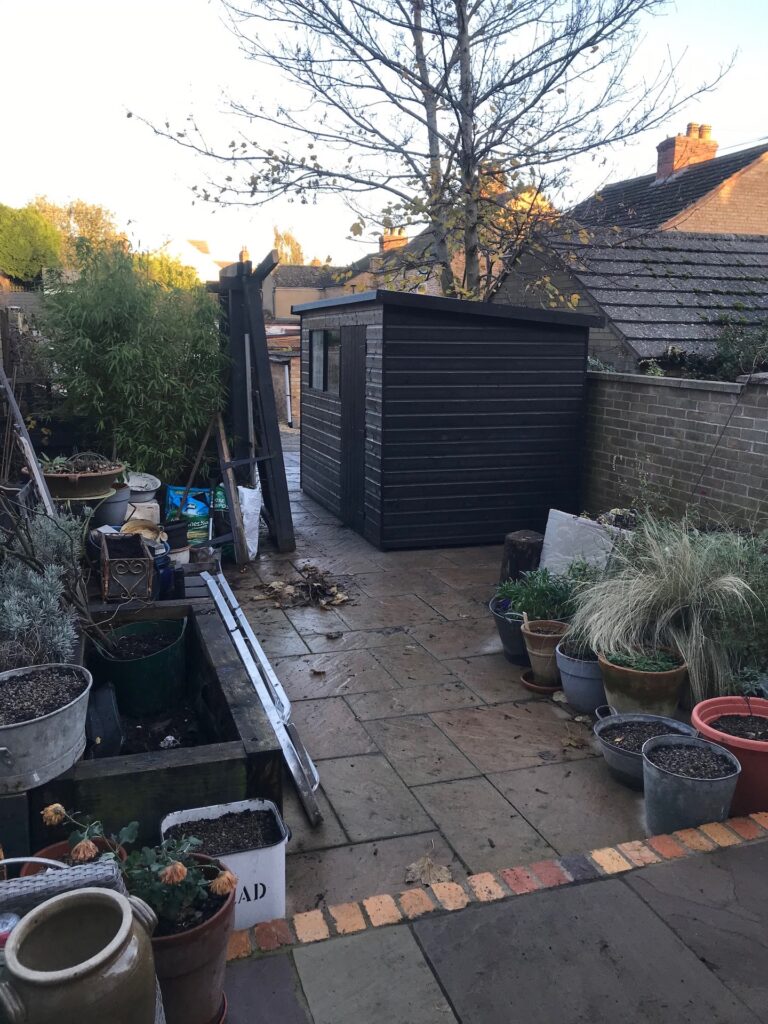
Well, it has taken a while, but we are finally making progress in our garden. Regular readers of my blog will know that we had a kitchen extension last year, and our tiny garden became a temporary builders’ yard. After the chaos of the build subsided, we were left with something that looked like this….

Not a pretty sight. We do have a new three metre patio just outside the kitchen doors, but the rest of the space looked a bit of a rubbish tip, with pots strewn everywhere. When we moved in to this house, just over four years ago, we left behind a large, lush country garden overlooking open fields. It was quite a change to swap a quarter of an acre of green for a concrete rectangle measuring about 12m by 5m. But, I have always rather liked small gardens, and with quite a lot of imagination, I was convinced that we could turn it into something much greener and more appealing.
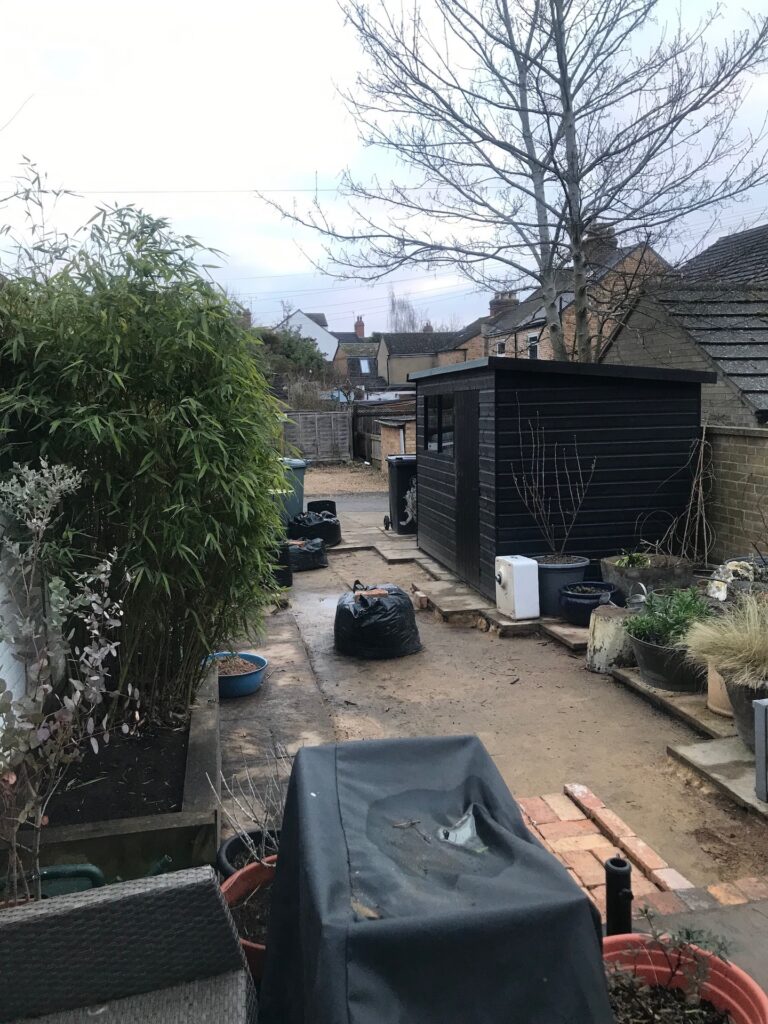
First things first though: we installed a shed for some storage space.
Once the shed was up, we could start to think about how we wanted to space to look. I had envisaged having some proper flower beds in place of the raised beds, but we soon hit a major problem. The concrete slabs covering our entire garden had been laid over a very thick concrete bed (double or triple the usual depth, as it turned out). So, if we wanted to find some soil, we would have to drill down a significant way. With little money left in our budget after the renovation costs spiralled, it soon became clear that we would not be able to afford this.
At first, I was very disappointed that I would not have a ‘proper’ garden, with soil to put my hands in. But I was not defeated! I decided to reuse the raised beds that we had inherited, moving them around to create a different arrangement, and these would be my growing areas. I could combine them with large containers and assorted pots. A curved brick path, using reclaimed house bricks from the small outhouse that we had to knock down for our extension would create a central feature in the garden. My husband decided that he could lift the slabs and chip out the base layer of the path himself. A day after he began the task, disaster struck when he broke his arm playing football. I started to think that this house is cursed. It is not the first thing that has gone spectacularly wrong. I was plunged into despair. But then our two wonderful sons came to the rescue, and volunteered to take on the challenge over a weekend.
I think they may have regretted their kind offer! They worked flat out for two days, fortified by roast dinners and home made cake, and they returned to their respective homes in a very sore and blistered state….

It certainly wasn’t easy work.
Once the slabs had gone, and the messy base layer had been chipped out and put in the skip, we were ready to design the path. We have used house bricks to make our path. These may be susceptible to frost damage, but we needed to make use of materials we already had rather than buying new, so we’re prepared to put up with this risk. It is possible to buy frost proof pavers to create the same look and it may be advisable if anyone is thinking of doing the same.
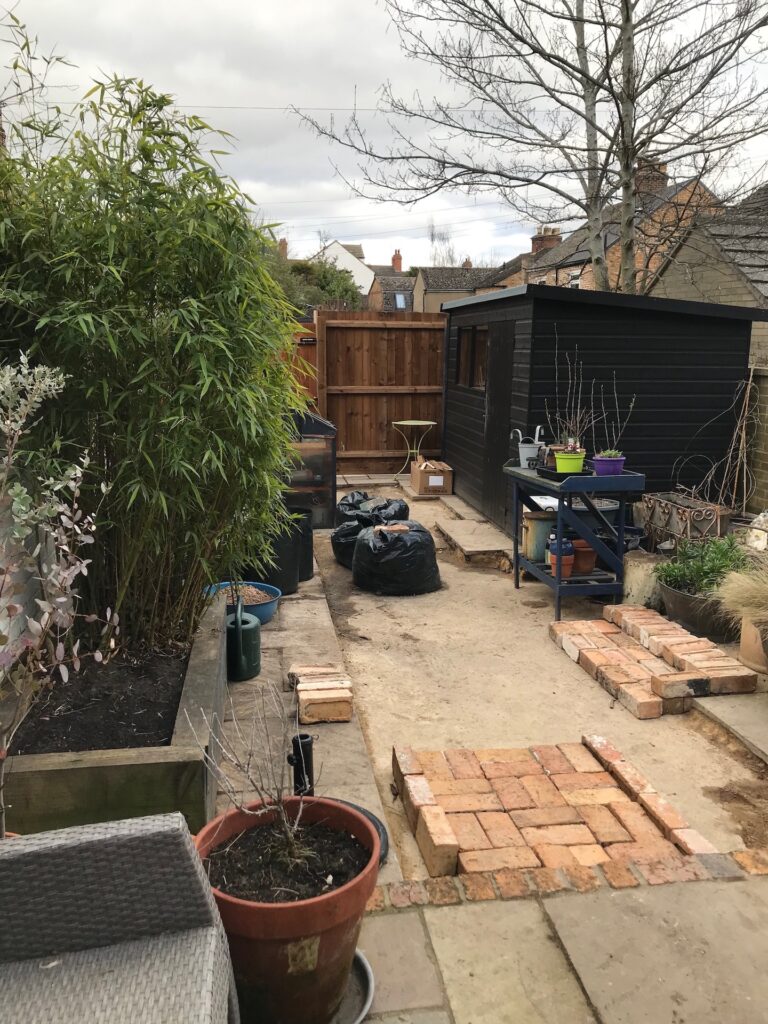
We spent a week playing around with widths and routes for the path…and in the meantime, we had a sturdy fence installed to reclaim our privacy and block the dismal view of the car park opposite!

It was tricky to get the right curve for the path. There were four attempts before we felt that it was the right one!
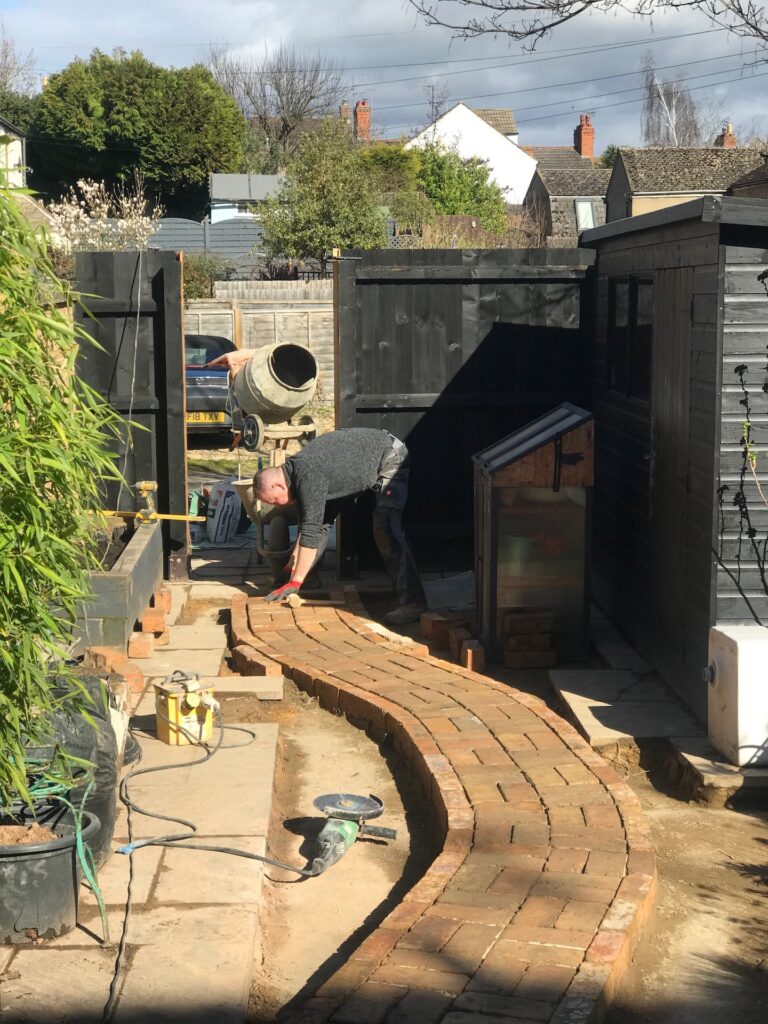
We asked our builder Jarek (JK Max), and his co-worker Piotr, pictured here, to come and instal the path for us. There was just enough in the budget to have it done properly, cemented and grouted. Piotr also put up the fence.
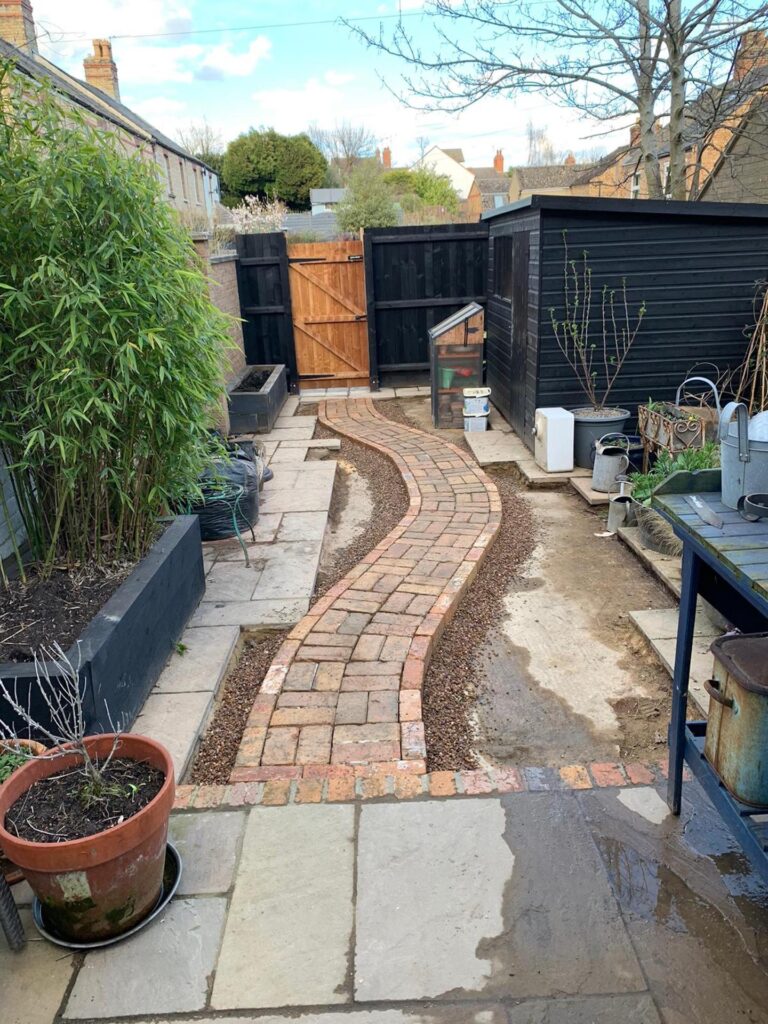
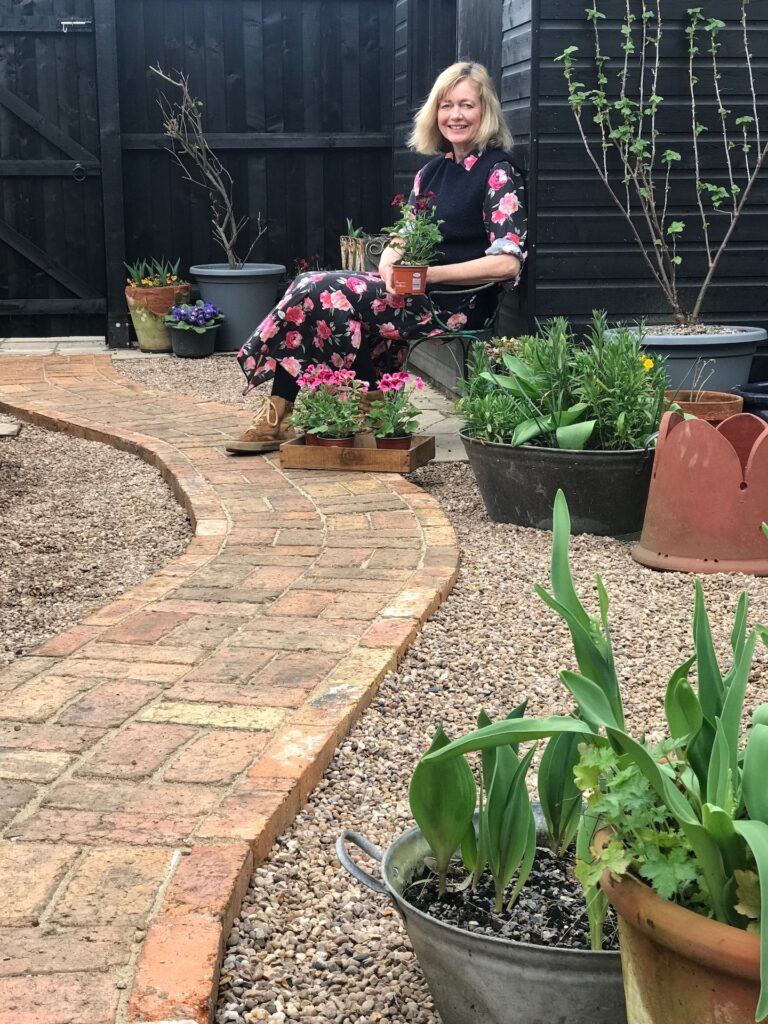
The men did a lovely job. I ordered a load of pea gravel from the builders’ merchants and it was time to get shovelling….and painting the gate and the fence. I used Cuprinol Ducks Back in black for the woodwork. I plan on growing some climbers over the fence and over the side of the shed, honeysuckle, roses, jasmine etc, and I thought it would make a good backdrop. It was partly inspired by Derek Jarman’s Prospect Cottage at Dungeness. I love that little black building and wanted to import a flavour of it here.

I wish I was more practical but at least I can do the painting….

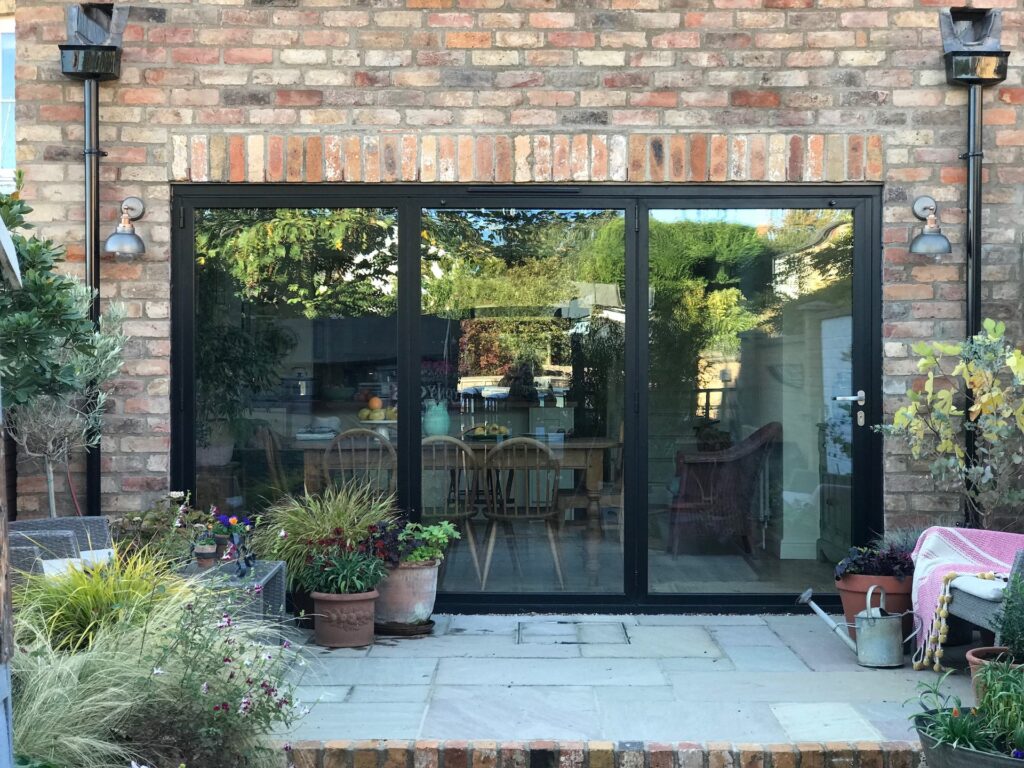
Here we have the bare bones of our garden. The patio area looks like this….
Now comes the nice part – planning my three raised beds and planting them up. I am hoping to buy a small Betula jacquemontii tree for a huge pot that I’ve storing over the last two years. I might just be in time to plant one if I get my skates on. I am going to have a raised bed with mixed flowers and veg, probably climbing French beans with some companion plants. There will be an edibles area, with blackcurrant, raspberries, strawberries and gooseberries, all in containers. The raised bed on the patio will contain grasses and perennial flowers, and I have a square bed in the middle of the garden, which I am going to plant with a rose (‘Generous Gardener,’ already in), nepeta, an orange geum and a Salvia nemerosa ‘Caradonna.’ And the finishing touch will be a minuscule greenhouse, which I have ordered, and am impatiently waiting for. It’s one of these, and it will be a rather special birthday present:
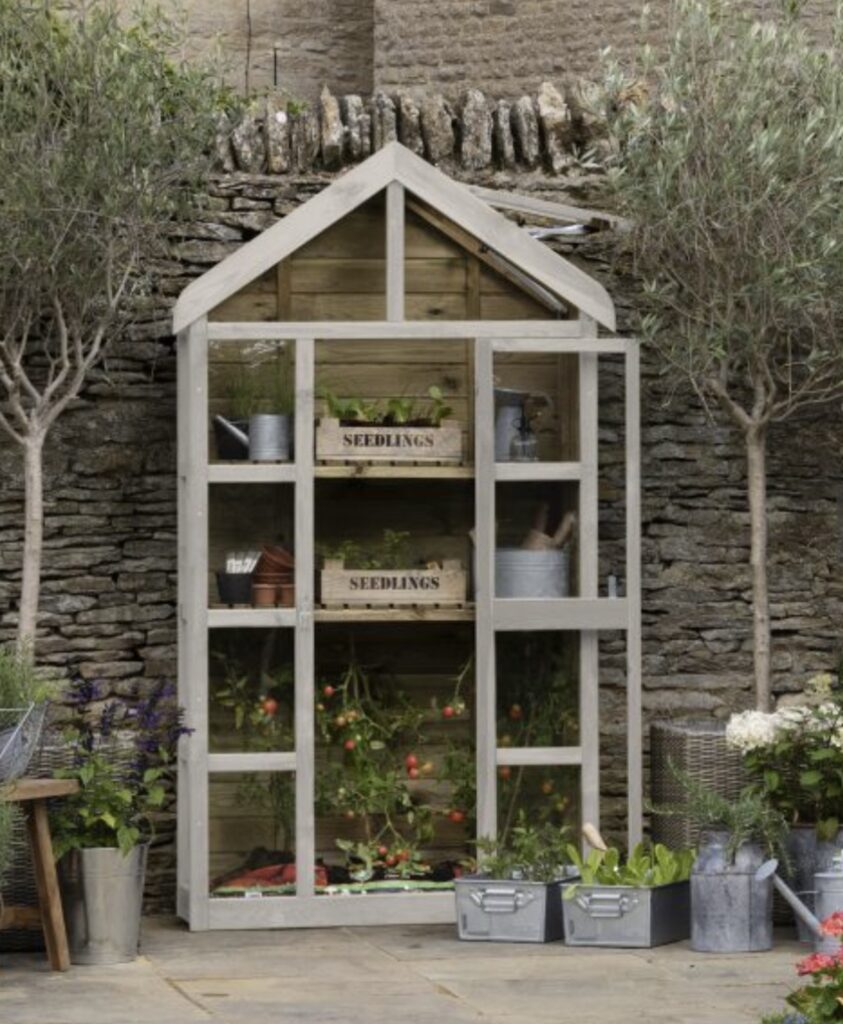
This is the manufacturer’s picture, Forest Garden, and credit is theirs, but it gives an idea of how it will look. I am hoping to grow tomatoes in mine, and the seedlings are already sprouting on my window ledges in readiness. I’ve also snapped up some of Lidl’s bargain pelargoniums which will stay under shelter until the frosts are gone.
I am hoping that by summer, we really will have a small patch of green which is more welcoming to birds, bees and butterflies than the concrete jungle that was here before. A place to sit, somewhere to wind down, and switch off from life’s challenges. Stay tuned for planting progress!